
Crafting Unique Wooden Charcuterie Boards: A Journey Inspired by Italian Adventures
Nine years ago, amidst the enchanting landscapes of Italy, I discovered a passion that would ignite my creativity and fuel my culinary endeavors: charcuterie boards. As I indulged in the vibrant flavors of Italian cuisine, I found myself captivated by the artistry of presenting an array of cured meats, cheeses, and accompaniments on beautifully crafted wooden boards. Inspired by the rich tradition of Italian gastronomy and fueled by a desire to create something truly unique, I embarked on a journey to craft my own wooden charcuterie boards from scratch.
Drawing upon the knowledge and inspiration gleaned from my many trips to Italy, where I would often source hardware and materials for my projects, I set out to create boards that would be both functional and aesthetically pleasing. With each piece meticulously crafted by hand, I found solace in the rhythmic motions of sawing, sanding, and shaping the wood – transforming raw materials into works of art.
Here's a step-by-step guide to creating your own wooden charcuterie board from scratch:
1. Select the Wood: Choose a high-quality hardwood such as maple, walnut, or cherry for your charcuterie board. Ensure that the wood is properly seasoned and free of defects.
2. Cut the Wood: Using a table saw or circular saw, cut the wood to your desired dimensions. Popular sizes for charcuterie boards range from 12x18 inches to 18x24 inches, but feel free to customize based on your preference.
3. Sand the Surface: Use a belt sander or orbital sander to smooth the surface of the wood, starting with a coarse grit sandpaper and gradually progressing to a finer grit for a silky smooth finish.
4. Round the Edges (Optional): For a more polished look, use a router with a rounding bit to round the edges of the board. This will also help prevent splintering and make the board more comfortable to handle.
5. Apply Finish: Choose a food-safe finish such as mineral oil or butcher block conditioner to seal and protect the wood. Apply multiple coats, allowing each coat to dry completely before applying the next.
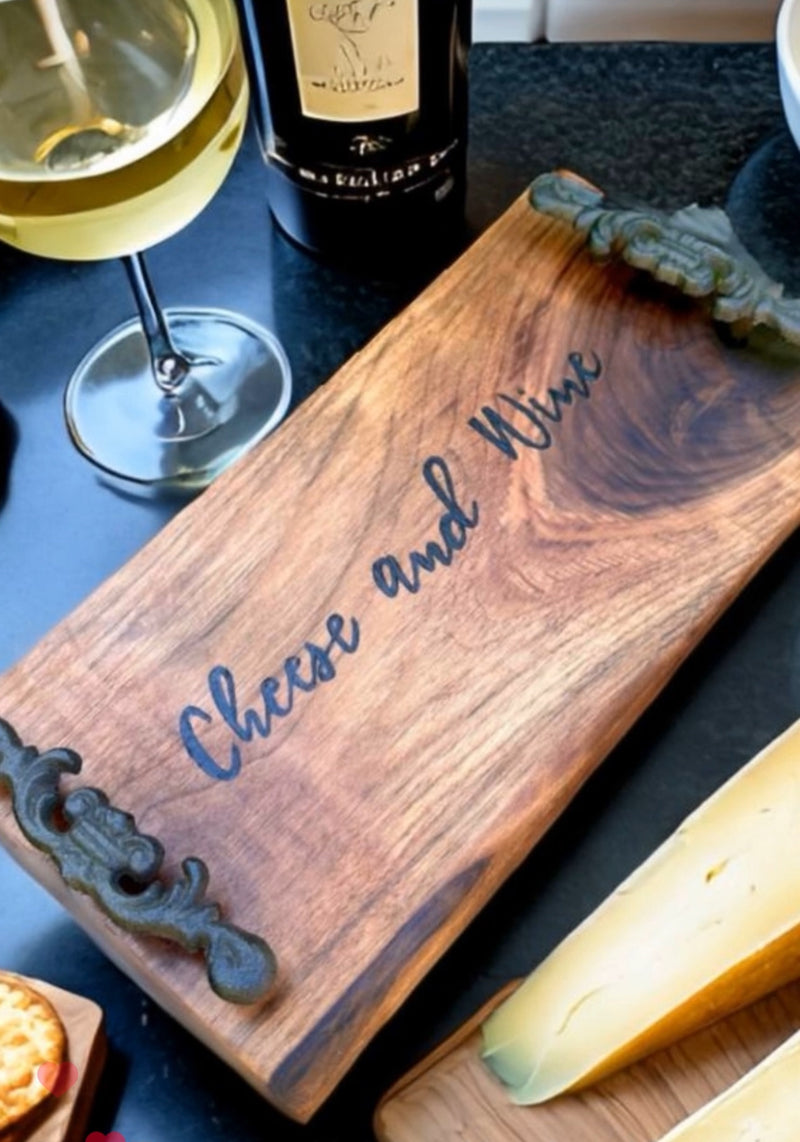
6. Attach Handles: Now, let's move on to attaching the handles. Here's how to do it:
a. Measure and mark the desired location for the handles on opposite sides of the board, ensuring they are centered and evenly spaced.
b. Use a drill with a paddle bit or hole saw to drill holes at the marked locations. The size of the hole should match the diameter of the handle screws.
c. Insert the screws provided with the handles through the holes from the underside of the board.
d. Place the handles over the screws on the top side of the board and tighten them securely using a screwdriver.
With the handles securely attached, your wooden charcuterie board is now ready to be showcased and enjoyed. Whether you're hosting a gathering with friends or simply indulging in a solo culinary adventure, let your creativity and passion shine through in every aspect of your charcuterie experience. Cheers to many more years of crafting and savoring delicious moments together!


Add a comment